

Hi Friends! I hope everyone is doing fine & having a scrappy-good week! I have received a couple inquires about the flourishes I altered on my Ruffles & Lace previous post, so I thought I would share with you how they are done! I am all about using my current stash of supplies & this was a great way to put a fresh twist on something old!

I take the covered flourish & file toward the back with quick downward strokes. This wraps the loose & excess paper to the back side. The pink file is great for the curved section. Continue doing this to the edges are smooth & neat.
I then file gently the top portion of the paper in a few spots with the grey distress file to give the ink a resting place!!

I always ink in threes! I use 2 contrasting colors & one darker color. I used Worn Lipstick & Scattered Straw as the contrasting & Frayed Burlap as the darker ink. I apply my ink with makeup wedges & always use the darkest last & cover all raw edges.
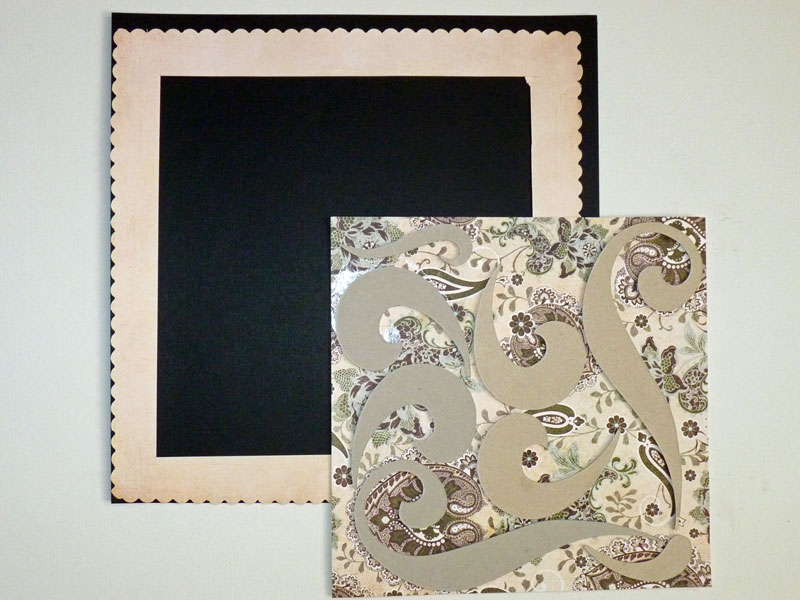
I then placed the flourishes about to see where I wanted them to stay!

Lastly, I added the chip flowers & dabbed with the inked makeup wedges, to get rid of a shine on the flowers!
I was very happy with the way they turned out! Plus I was able to use up those supplies just laying around!!
I want to thank everyone for your support!! How lucky I am to have such a great online Scrappy friends!! :)

7 comments:
Thank you so much for the how to!!! I have to try this out!!!
You are so super talented and I just adore you sweet friend!!1
Have a great week!!!
Great job on the chipboard pieces. So pretty.
Well, that was an unexpected tutorial. Thanks for sharing. I really enjoy looking at your blog.
I am in love with those liquid pearls and I love what you did with the swirls. It took me a moment to wrap my brain around what you were saying. This page came out so beautiful.. and dont we all have some fond memory of our perfect outfit .. no matter how uncomfortable. Great job.
Wow, thanks for the tut Lynn! It's great that you explain it so well so that I understand what you're doing and why! It's tips like yours that help me create better pages.
{{{hugs}}}
Ann Marie
thanks for the tutorial - you work is always so GORGEOUS! :)
Dear Lynn,
your site and your works are so lovely!!!! Thank you for sharing us this beautifull creations!!!
If you may, I have stardet my kreative Website since Juli 2011. Please take a look! Perhaps my Ideas do Inspiratie you too. Many Hugs from Marina
Bettyscardsandpaperdesign.com
Post a Comment